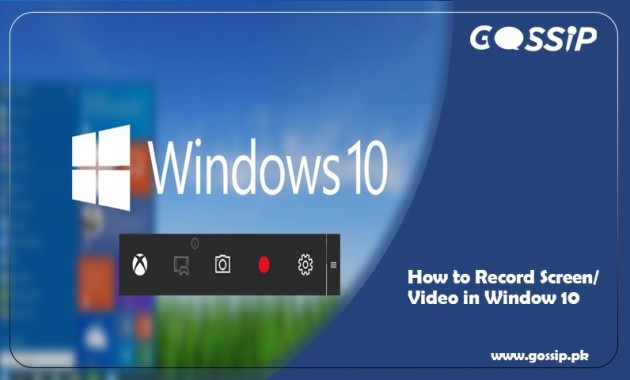
Many of us do not know that window 10 has its screen recording software known as Xbox Game Bar. You can record any video with this screen recording utility.
In this article, we will tell you how to use this recording utility of window 10 in an easy way.
This recording utility is installed by default in window 10. Recently it is updated with some new features to make it easier for you.
Step 1: Open the app:
The first step is to open the app you want to capture. Keep in mind that it does not capture larger files like the entire desktop or file manager. It only works on the regular app either a desktop app or Windows store.
Step 2: Opening of Bar Dialog:
This is opened by pressing the combination of window key and Letter G at the same time. The game bar dialog will open.
In the same dialog box, you have to check the “Yes” to load the game bar. The procedure is the same either you are recording an app or a game.
When you want to record, click on the red recording button or press the combination of keys (win + Alt + R). As you click, it will start recording the video.
Step 4: Stop the Recording:
When you want to stop the recording, again click on the red recording button that appears on the top right side of the window program.
NOTE: If the window bar disappeared, press the win + G again to make it visible.
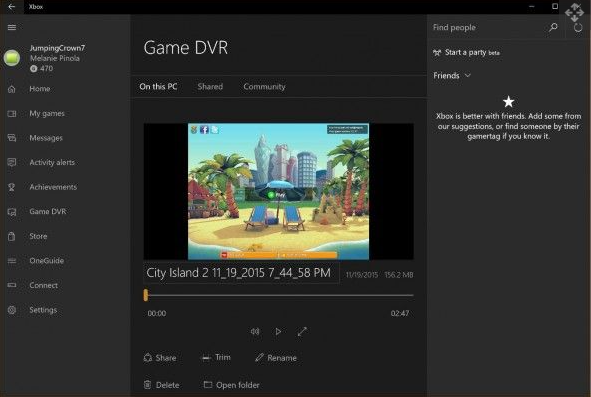
That all finished now. You can see the recorded video in MP4 format in the video folder and further in the subfolder name as Captured videos.
In addition to record videos with Xbox, you can also capture screenshots. For capturing a screenshot, you need to click on the camera icon on the Xbox game bar or press the combination of 3 keys (win + Alt + PrtScr).


