How to Make Hair Removal Wax At Home – Types Of Homemade Wax
For how to make hair removal wax at home, there are a few different ways to do so. You can use this hair removal wax for men and women both. In fact, this may be the best professional wax for hair removal. It’s easy to make the best wax for hair removal at home because the ingredients you need to make it are readily available in the market. You can buy the products online too. But in the end, you will only end up with the best professional wax for hair removal.
So let’s find out how to make hair removal wax at home.
Hard Wax
Mainly beeswax and rosin are used to make hard wax. But you can add other therapeutic ingredients such as vitamins and oils. You don’t need strips to remove hard wax.
If it’s hard for you to make hard wax, you can always purchase it from the market. But if you plan to make it, its ratio is one part beeswax to four parts of rosin. Adding a small amount of coconut or olive oil is also preferable.
It usually takes about 15-20 minutes to melt hard wax on the high setting. Once you are successful in melting the wax, keep it to low to be used for further.
Soft Wax

Soft wax contains the same ingredients that you used to make hard wax, including oils, rosin, and some other additives. You need to use clothes or strips for removal while using soft wax.
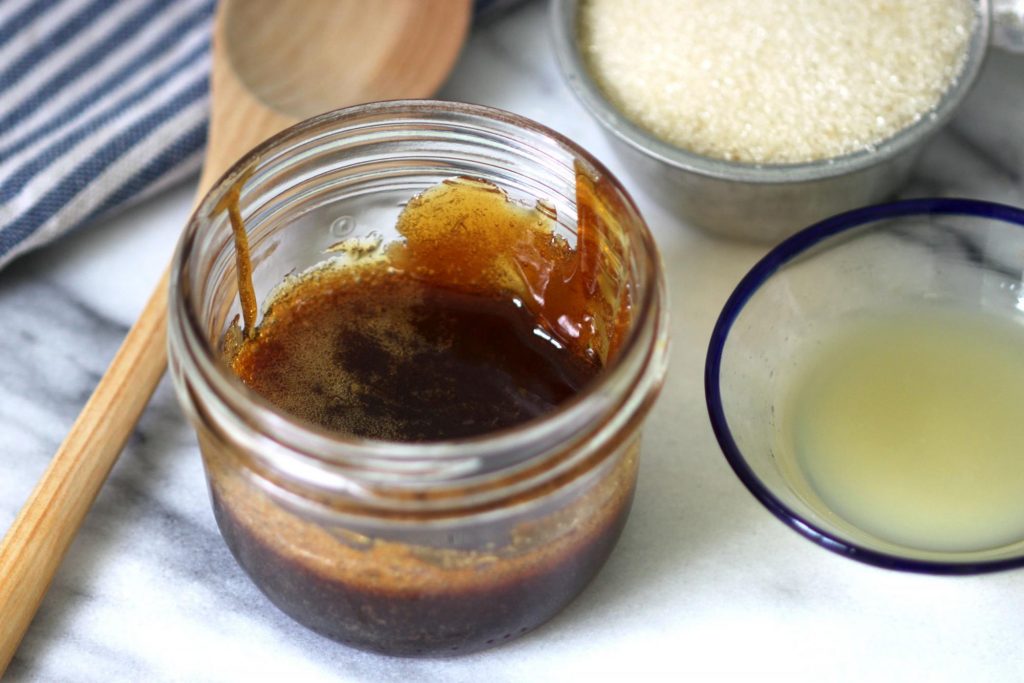
You can make soft wax this way. Take a cup of granulated sugar, ¼ cup honey, and a tablespoon lemon juice. Over a medium flame, let the sugar melt and once it starts to caramelize, add the lemon juice slowly along with honey. Just be sure that the consistency of the wax is like a batter. It should not be too thick or runny. If it’s too sticky, add a little more water and stir.
You can melt the soft wax in any heater, just the way you would a hard wax.
Sugar Wax

Have a look at this sugar recipe for wax. You will need 2 cups of granulated sugar, 2 tablespoons of water, 1 teaspoon of salt and 1/4 lemon juice to make the wax. Put all the ingredients in a pot and place on medium-high heat. As soon as the mixture comes to a boil, you need to start stirring it to let the ingredients combine properly. Let the mixture cool until you see it starts to become caramelized in color. It should be something like honey. Once you feel the wax is fully cooked, pour it in a container you want to store it in, and can reheat again and let the mixture cool down.
You can easily reheat sugar wax, just like hard wax or soft wax.
Fruit Chocolate Or Honey Wax

You can use the same soft wax or hard wax base, it’s your choice entirely. However, adding these to the wax has proven to be more beneficial.
Cocoa has high anti-inflammatory properties, whereas if you look at fruits, it contains a lot of antioxidants, minerals, and vitamins. Honey is another ingredient that is rich in anti-inflammatory and antioxidants nutrients.
Homemade Fruit, Chocolate Or Honey Wax
- You can choose to follow any two recipes from above, the choice is yours.
- For Fruit recipe just add about 10 to 20g of powdered fruit mix or pure fruit juice.
- For chocolate one adding 10 to 20g organic cocoa powder to the hard or soft wax is preferable.
- To make the honey wax, adding 10 to 20g pure honey to the wax or maybe honey extracts seem good.
You can also reheat these fruit, honey or chocolate wax, just the way you would to your hard or soft wax. It entirely depends on which base you are using.
How to Make Hair Removal Wax at Home
Before you know how to make hair removal wax at home, first have a look at these. You need to take a few step pre-waxing before you start removing hair from your body. This is what you should do:
- You need to first clean your skin. There should be absolutely so debris or dirt on the body. Otherwise, the wax will not completely adhere to the hair.
- All the dead skin cells should be removed and for that, you need to exfoliate gently. This will also open up the pores and let the wax mixture penetrate deep in the hair shafts.
- Your body should be perfectly dry before you apply the mixture. So its best you apply powder prior to applying the wax. But at the same time, you should not apply any powder near your genital area.
- For the wax to easily and more effectively stick to your hairs, you should apply a small amount of oil first.
- Remember to always apply the wax in the hair growth’s direction but you need to pull the strip in the opposite direction.
- If you wish to get the best results, it’s ideal that the hair that has grown should be about ½ inch. If its longer, that’s preferable too.
- Before you apply the wax directly on any part of the body, it’s best that you check it for the temperature. It shouldn’t be too hot because that can burn the skin, especially if you are one of those with highly sensitive skin or you plan hair removal wax for face.
Waxing Aftercare
After successfully removing that wax, what you can do is dab a little coconut oil. This will help in getting rid of any remaining wax that may be left on the body. But at the same time, there can be some inflammation on the body after waxing. You can use Vitamin E oil to reduce that.
You should also keep your away from all fragrances and harsh chemicals for the best results.
The Amazing Benefits Of Homemade Wax
Making wax at home may seem like an effort, but then again, after you’ve done it, you will realize the work was totally worth it. In saying that, the time-unlimited benefits you get from homemade wax are amazing too. Take a look at the incredible benefits you can get from this wax making at home:
- Cost-Effective: When you go to the salons, you will have to pay a high price for wax which can range from $30 to $100. That is all just too much for just one trip to the salon. This cost may vary depending on which parts you need to get waxed, but then again, this price is high. But on the other hand, when you try waxing at home, it won’t cost you as much. Well, maybe for the first when because you might have to buy all the required tools for waxing as well as the ingredients, but once you have them, the price won’t be as much. And you will also be ensured that the equipment is clean and sterilized. You can reuse these tools for long for wax hair removal at home. And you will get to save a lot in the long run.
- Privacy Is Ensured: When you head to the salon for washing, though there will be a professional to do the job, there won’t be any privacy. Some of us aren’t that confident in showing ourselves and are shy about getting waxed by a stranger and showing every part of the body. But you can wax on your own at home. You don’t have to show yourself to anyone. This eliminates those awkward encounters some of us dread.
Use Of Superior Ingredients
When it comes to salons, you are not ensured they use all-natural wax. There may be some salons that might use waxes that contain dyes and additives. These can be harmful to the skin or cause irritation. But when you make wax hair removal at home, you are ensured that you will use superior ingredients, they are all-natural and safe for use.

